
Ed's 8th Legion (Legio VIII Augusta) 2nd Cohort creation: My Blog about creating a 28mm Roman Legion Cohort using UK Aventine's excellent metal figurines and battling a large Celt army using Warlord's Hail Caesar Celts 28mm figures.
 With the arrival of my two packages from England (Warlord UK - http://www.warlordgames.com), I've begun to think about how I'm going to model the enemy facing off against the 2nd Cohort, 8th Legion and other attached Roman forces. I'm focusing on the Gallic Celts of what is today, France and Belguim (then known as Gaul). The Warlord figures are mostly the plastic variant of 28mm and seem nicely made. And numerous metal minis are included. Overall they seem well done as minis and will match well with my excellent Roman minis from Aventine UK.
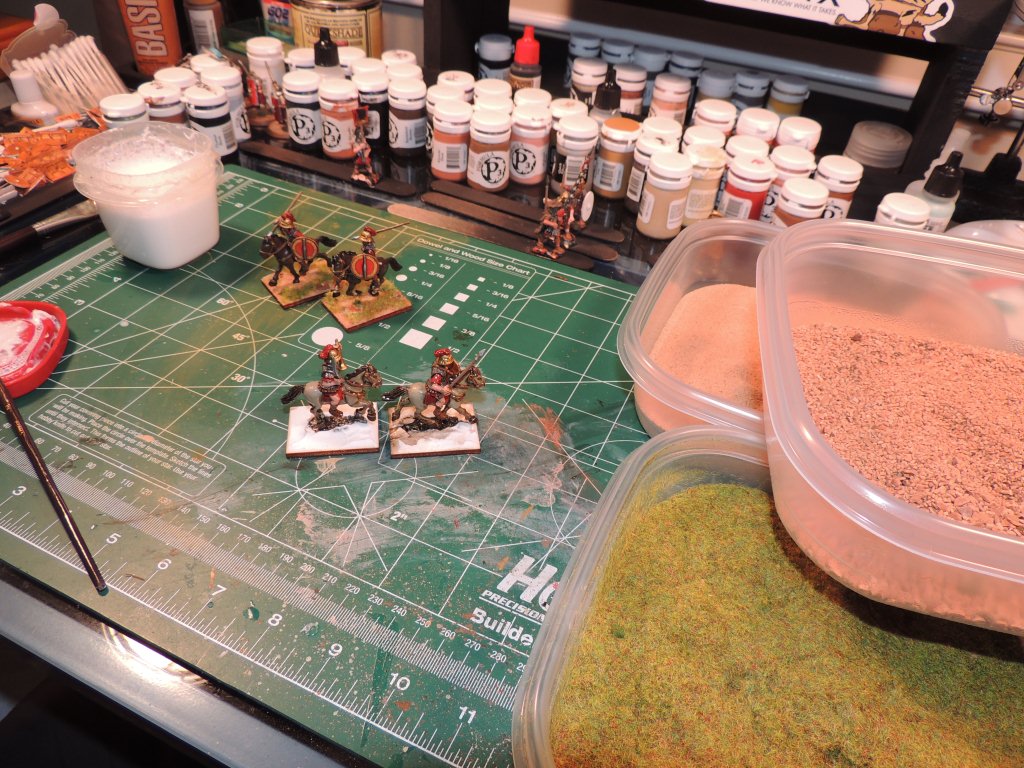
 As I finish up 4 more cavalry, I have some pictures of the process. Once the minis are painted, I spray with a gloss varnish to seal them. I allow the varnish to dry for 3-4 hours. Then I apply the Army Painter Dip. I apply with a brush and then wash repeatedly with solvent to achieve the desired outcome. This also ensures the dip flows into the creases. The Dip takes a long while to dry and the tone of the dip fades a little as it does, which I like. Then I glue to the Litko base and apply the ground plaster. I use a mix of white PVA glue and matt medium and spread it with an old brush. I apply super fine grit and then re-do any areas where the glue was too thin to hold the grit firmly after I tap the bottom. After the grit I "paint" on glue and tweezer on static grass, tuffs and stones.


